In a previous post a while back, I documented how I installed Home Assistant Supervised in Docker under Ubuntu. Since then, that method of install has become the not recommended way to install Home Assistant, as the Home Assistant team have stopped supporting that style of install. While I still run one system like that in a friend’s house, I decided it was time to change up the way my system was set up and have gone with Home Assistant in a VM under Proxmox.
Proxmox is an open-source platform designed to manage your Virtual Machines, There are other similar products out there, but many of these come with limitations unless you pay for extra features. Underneath, Proxmox is based on Debian Linux just like Ubuntu is. Once installed, all management of Proxmox and its virtual machines is done via your web browser, which makes it simple to control your system, especially if your Home Assistant server resides in a rack of equipment.
To recap, why I have gone this route is basically down to my choice of hardware. I originally had a Raspberry Pi 3 running Home Assistant, but after several failed SD cards and slow reboot times, I decided it was time to upgrade. I could have gone with an Intel NUC, and then I could have used Home Assistant’s NUC image that would’ve been easy, but the NUC was way too expensive. Alternatively, I could have upgraded to a Pi 4 with an SSD, but for about the same cash I went with an old Lenovo mini PC which has been a fantastic experience in terms of speed and reliability.
The first step before starting would be to create a full snapshot of your Home Assistant system, so you can restore it later on in its own virtual machine. I went the overkill route and created a separate Proxmox and Home Assistant install on an old laptop before moving it over to my main Home Assistant PC. This method will be covered in a future post and does highlight the power of running Virtual Machines. If installing Home Assistant for the first time, you can obviously ignore this step.
Once you are positive you have a good backup, head over to the Proxmox website and download the latest version of the Proxmox VE ISO file. Once you have downloaded the ISO, copy the ISO image to a USB stick via a program like Balana Etcher.
Proxmox Download Link
https://proxmox.com/en/downloads/category/iso-images-pve
Balana Etcher Download Link
https://www.balena.io/etcher/
Prior to rebooting your PC via USB to install Proxmox you will want to ensure Virtualisation is enabled in the bios of your PC. On my system this was located under Advanced/ CPU Setup and then “Intel(R) Virtualization Technology”. Bios’s differ from each manufacturer, so look for similar wording on your system, and note some older PC’s may not support Virtualisation.
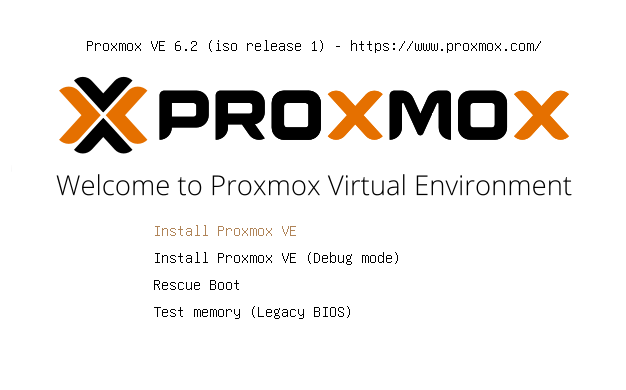
On the first boot from your USB stick, you will come to the Proxmox install start screen. Select Install Proxmox VE.
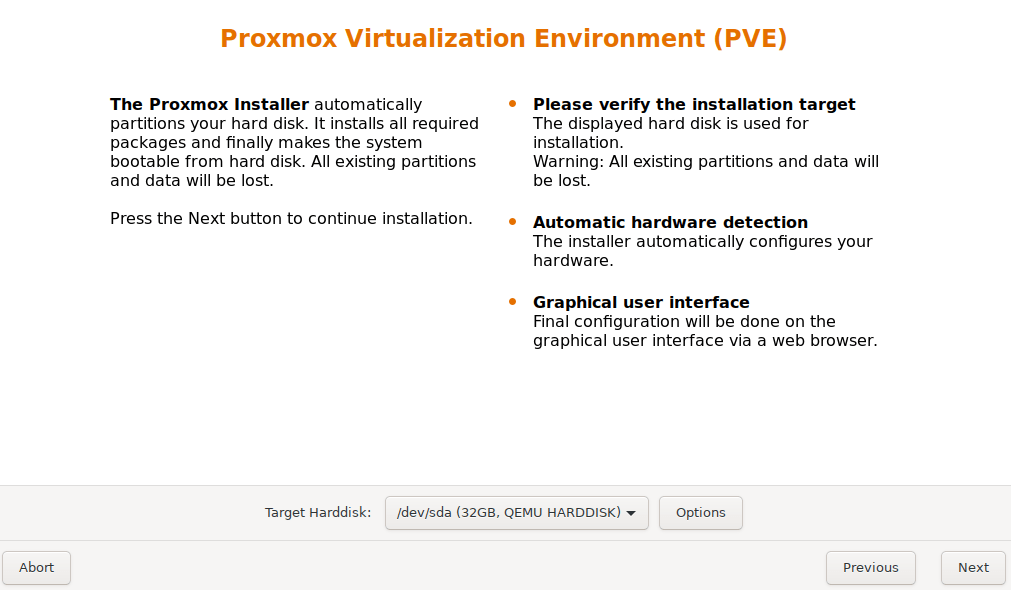
Next, you will get the option to choose which disk you want to install Proxmox on.
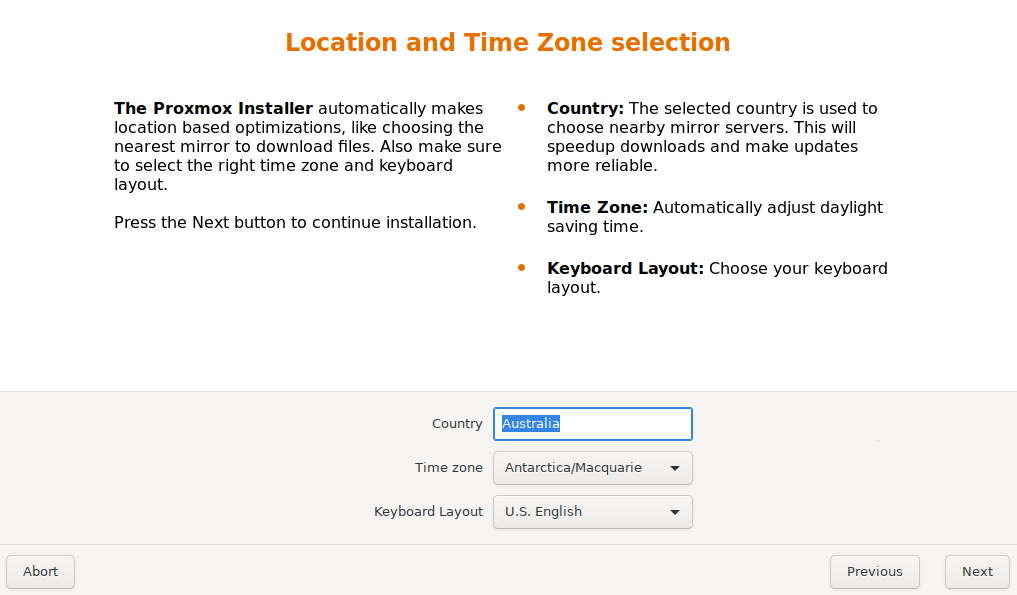
Next, you will set your timezone.
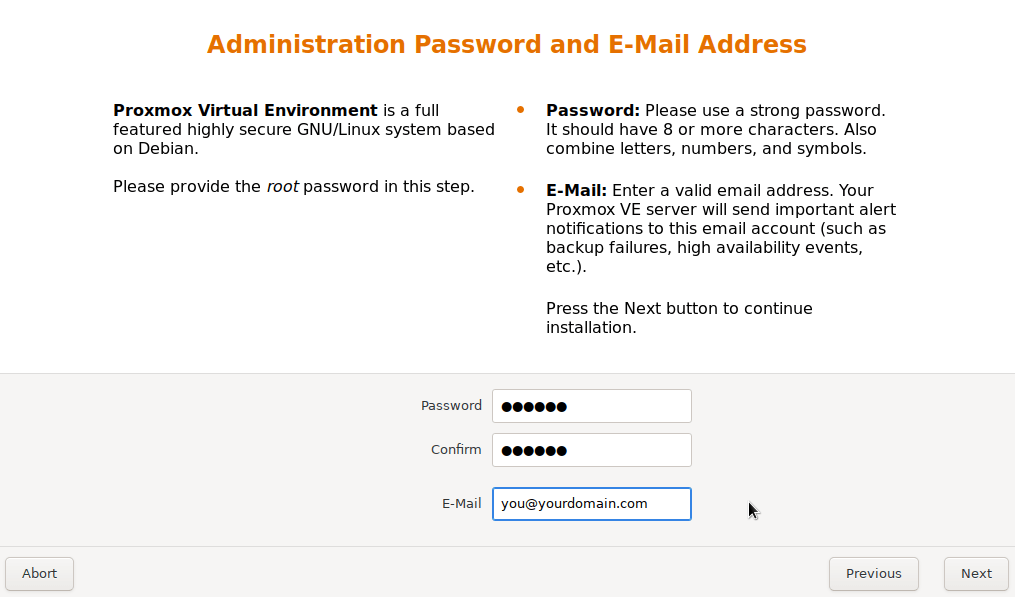
Then you will set up a password, make sure you don’t forget it.
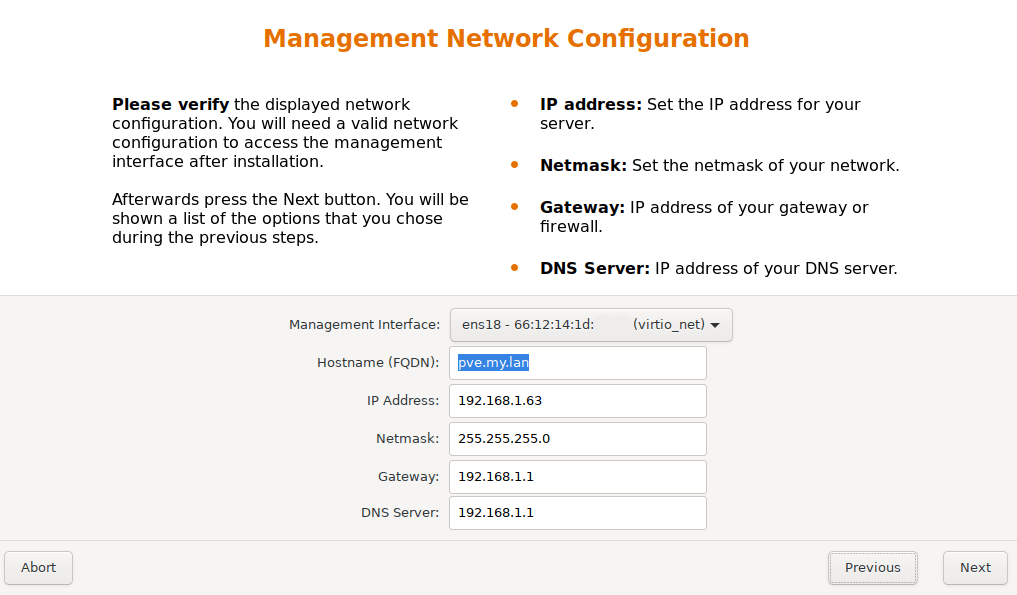
The final step before conformation is network setup, If the IP address looks odd here and not at all like the address range of your other gear, it’s possible you may not be connected to your network, so check your network cable and start again. The first part of the host name is what your PC or node will be called under Proxmox, the default is “pve”. If you plan to add another PC running Proxmox down the line, maybe you might want to change this to something more friendly now. I have two Proxmox setups, so I call one pve1 and the other pve2.
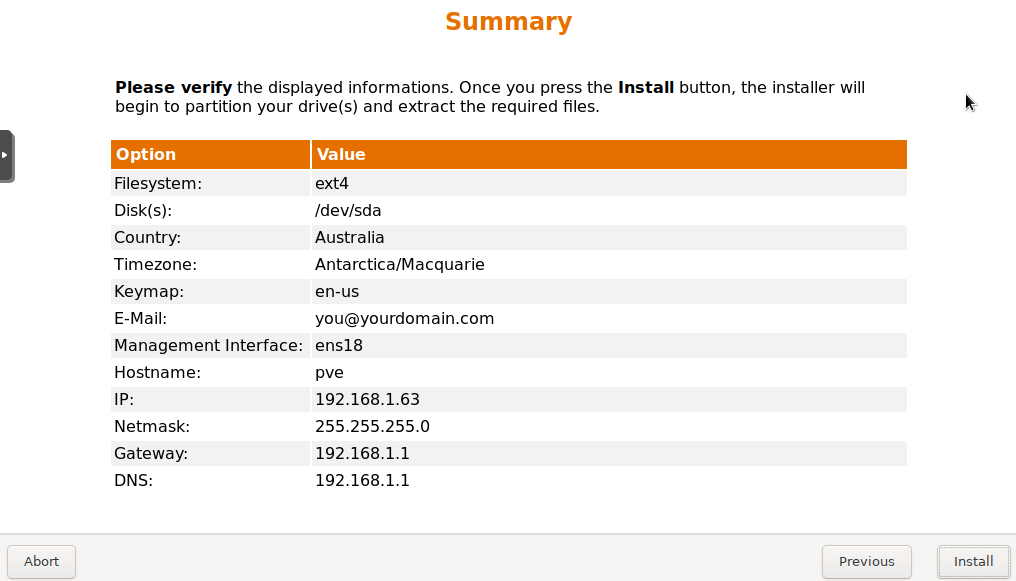
Once you confirm the installation, Proxmox will install and is finished once it displays its IP address on the screen, from now on all your system config is done via the browser so write that address down and enter it into the browser on another computer.
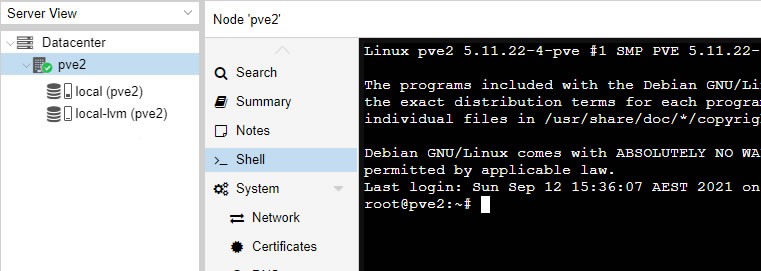
Once logged into Proxmox with the user root and the password we created earlier, you will see a GUI like below.
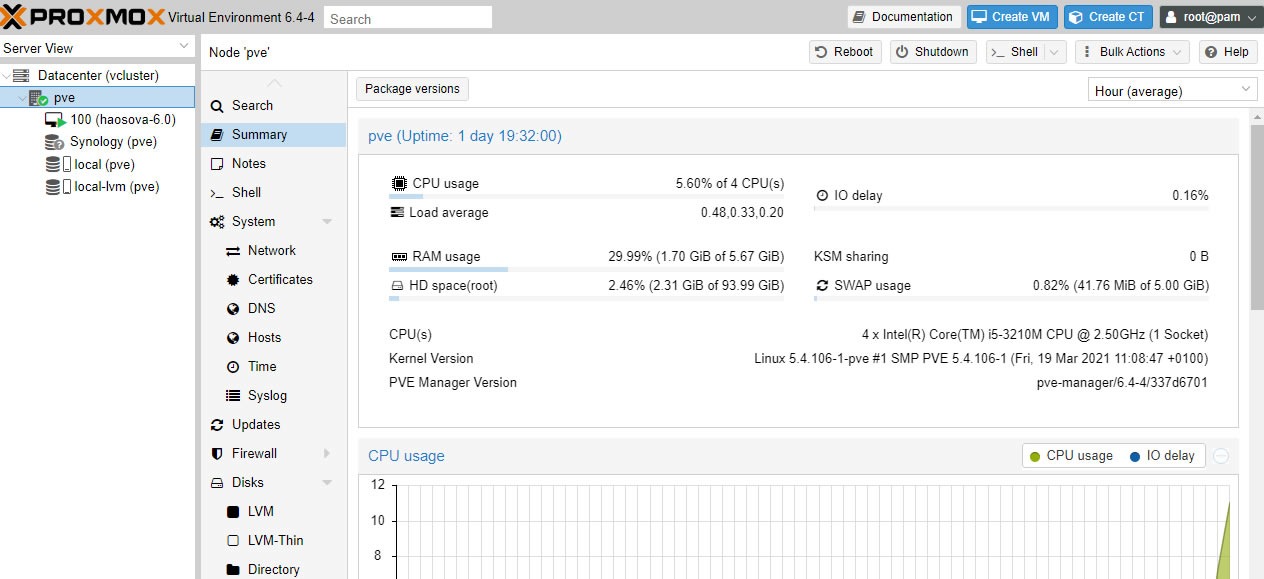
On the left you will see a list of your PC (called a Node) your drives and your Virtual Machines listed under Datacenter. We will set up our first Home Assistant Supervised Virtual Machine in the next step.
First click on your node then click shell. It is in this Linux shell that we will paste one line that will download and set up a Home Assistant Supervised VM for us without any fuss.
I previously used a script by a guy on github called whiskerz007 but that script no longer works at the time of writing, fortunately another github user known as tteck has made a working script that does what we want. Simply cut and paste the below command into the shell, press enter and the script will do its work and set up a Home Assistant VM for us.
bash -c "$(wget -qLO - https://raw.githubusercontent.com/tteck/Proxmox/main/vm/haos_vm.sh)"
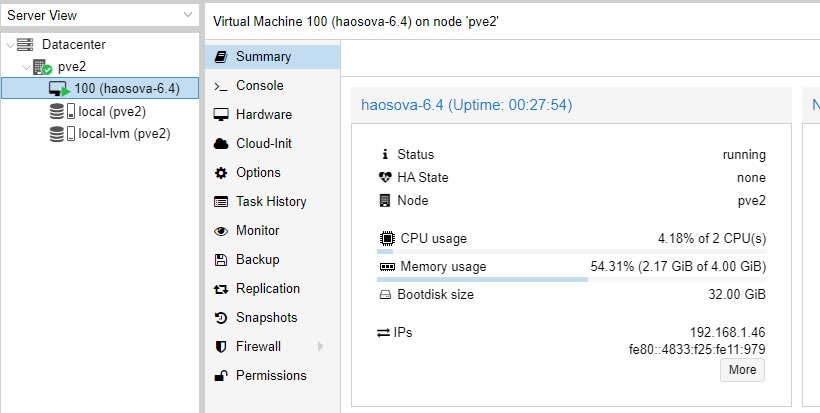
Once the script is complete, you will see your new Home Assistant VM in Proxmox under your node. Right click on it and select start to start the VM if not started already. Under the summary view, you will see the IP address of Home Assistant on your network. It is this IP followed by the port :8123 you will enter into your browser to access Home Assistant.
What you have now is the full Home Assistant OS with the supervisor, add on store and backup snapshot feature running virtually on your Proxmox Sever. If you are migrating from a Pi, all the features you are used to are there in Home Assistant but the Home Assistant OS is now running under Proxmox.
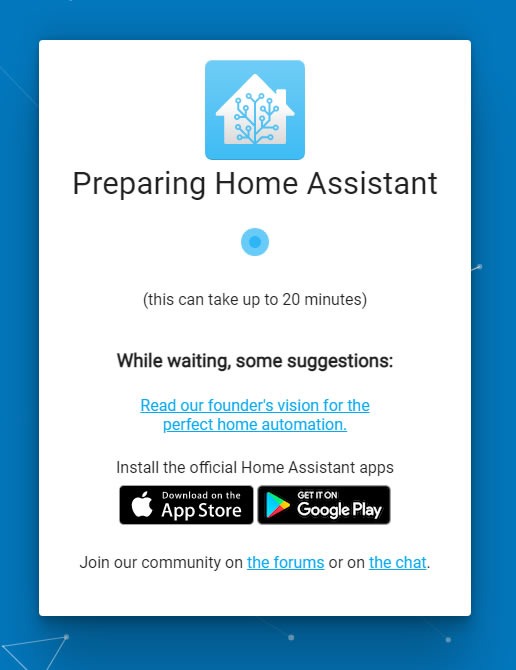
The first time you access your Home Assistant IP you may get the below screen, this is a good sign, so go and have a coffee and come back and refresh the browser.
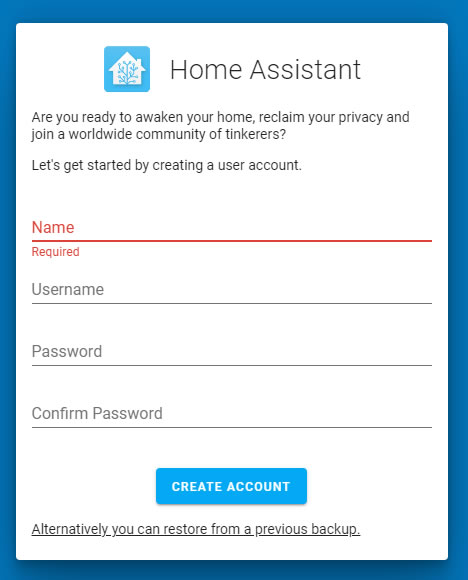
Once you see the below screen you are good to go either by creating an account for first time Home Assistant users or by uploading your previous Home Assistant Snapshot Backup.
Once you are up and running, don’t forget to update your router to point to your new Home Assistant IP address for those that don’t use a Nabu Casa subscription for remote access.
If you had USB devices connected to your Home Assistant PC, you will need to pass them through to the VM. fortunately, this is very easy. First select the “Hardware” tab, then “Add” and then USB.
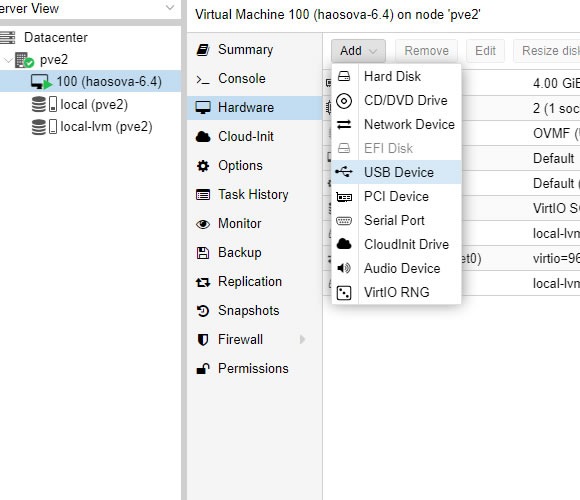
Finally, select the USB device you want to pass through and restart the VM.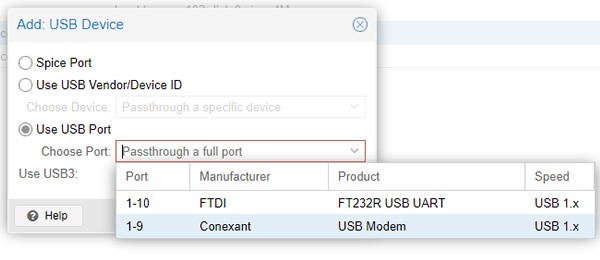
If all went well, you should have your Home Assistant Supervised installation running in a VM under Proxmox. While there are other free VM managers out there like Proxmox, I found Proxmox the best supported and easy to use the basics of the system, which is enough for me. Another benefit of Proxmox is the ability to pass through the USB ports to your VM, something that many of Proxmox’s competitors don’t allow for without paying a licensing fee.
Update December 2021
I have created a part 2 “next steps” post on some good things to do once you have your Proxmox Home Assistant server up and running. Check it out below.
https://www.inspectmygadgets.com/home-assistant-on-proxmox-next-steps/
Update Feb 2022
Another new post in my Proxmox series is below.
Proxmox – migrate your home assistant VM to a new pc via a cluster
Resources Used
Proxmox Download
Balana Etcher to write the Proxmox IOS to a USB
Home Assistant VM Install script