Until recently Tile trackers only came with non-replaceable batteries, which means every 12 months or so you have to pony up another 25 US bux to replace the whole tile instead of just the battery which can be purchased for only a few dollars. With the help of a 3D printer, a battery holder and a few tools I have been cracking open my old tiles and repurposing them with a new case that has a replaceable battery. My new chunky tile only costs a few dollars and is perfect to thrown in a suit case or laptop bag.
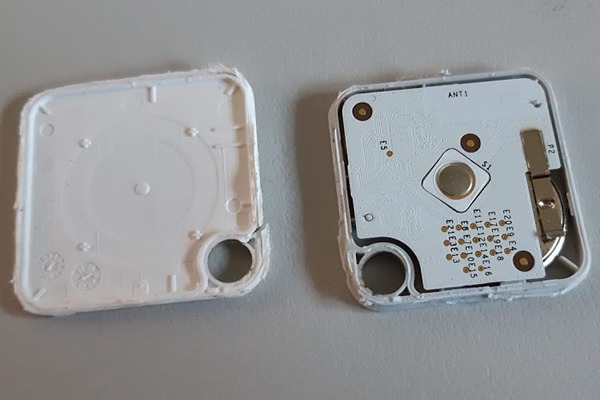
The first Tile I modded was the original Tile but below is my second Tile, a Tile Mate that was originally launched around 2016. Comparing the two, the Mate was much easier to pull apart and mod. In late 2018 this model was replaced with a new version with replaceable batteries.
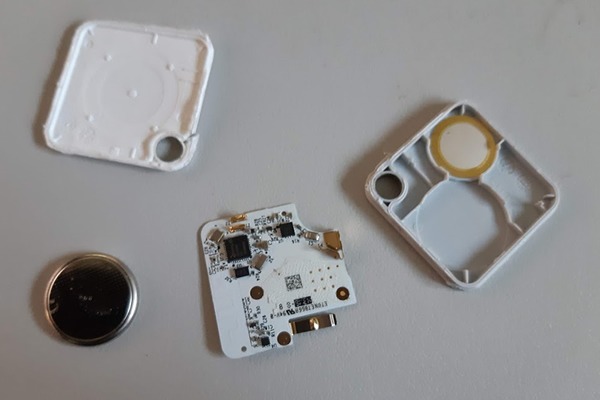
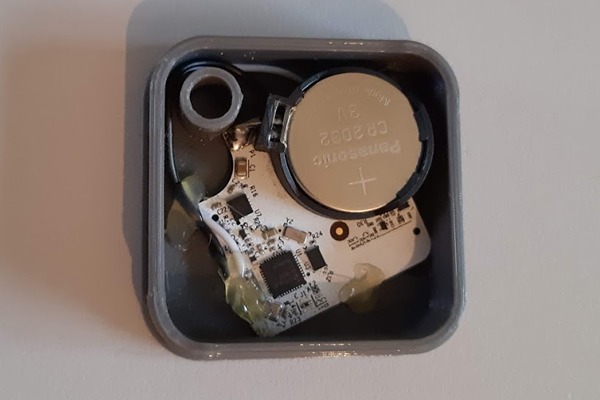
Disassembling the tile was a matter of running my dremel tool around the edge and then cracking it open with a flat blade screwdriver. The white top comes off first and then you can lever the main board and battery out of the bottom part of the case. The piezo speaker remains on the bottom case and makes contact via springs on the main PCB.
The battery is stuck down to the board via a double sided tape and makes contact via spring terminals. To remove the battery I heated up the PCB in front of a heater and then carefully pryed the battery off the PCB, I did the same with the piezo speaker off the plastic base.
Once everything is apart it’s time to put it all together in a new 3D printed case. I used the large top and bottom of this case here. I also decided to use a battery holder as the spring terminals on the tile are quite week without the original tile case sandwiching everything together.
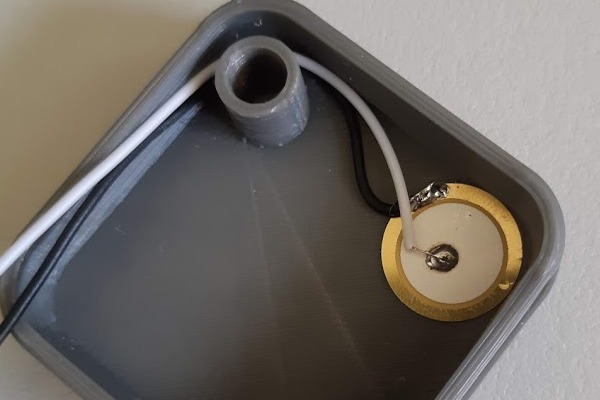
With the piezo removed from the original case two wires were soldered between it and the board’s original piezo contacts. I added some hot glue on the PCB to hold the wires a bit more firmly once soldered. A small hole is drilled in the case before the piezo is placed on top of it.
Now that the Piezo is done it’s time to add the battery holder. A CR2032 battery holder was used and it can be soldered directly to the tiles original battery terminals with a bit of bending of the terminals.
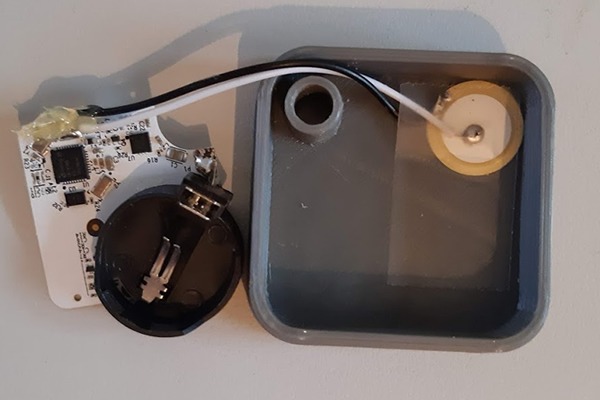
Now that the main soldering is done it’s time to put it all into its new case, make sure to add some insulation tape on top of the piezo so it won’t short on the pcb. Some hot glue was added to hold the board in place while a few mm was trimmed off the top of the battery holder with the dremel to improve height clearance.
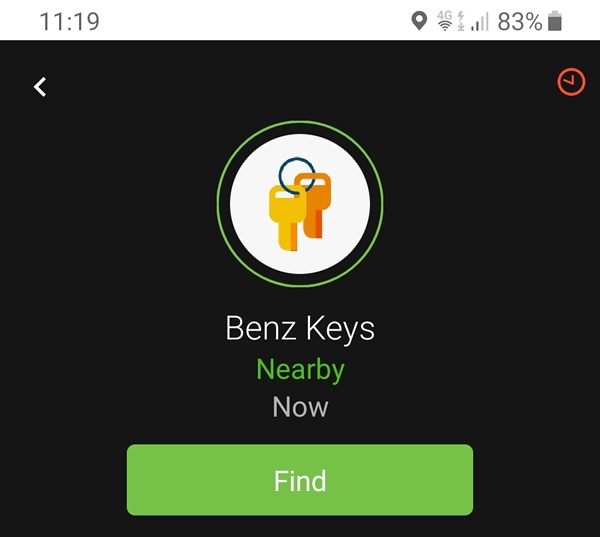
Now everything is connected, open you app and you will find you old dead tile in now alive. It will still have a replace tile error on it but you can ignore this from now on. The only downfall with this re-cased tile is the tile’s button is now no longer accessible, as I am putting it in the bottom of my laptop bag I don’t need the button so this does not concern me.
Resources
3D Printed case files Large version used
Battery holder was similar to this one (but from ebay)