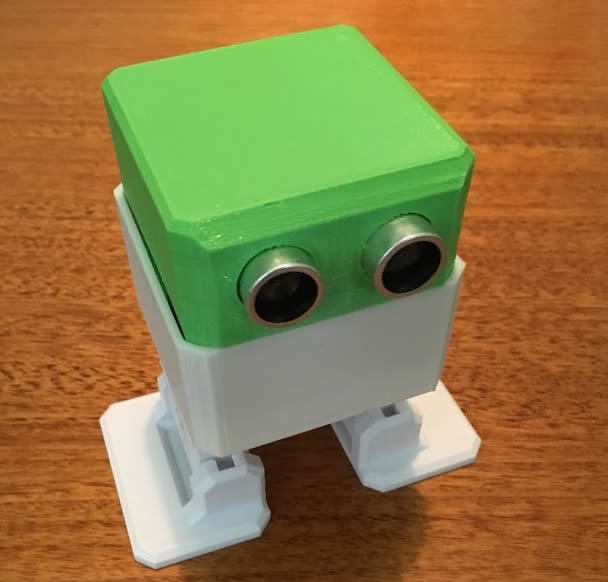
 You may have seen this cute toy dancing robot on youtube recently, He goes by various names that have evolved from various open source projects. When a friend gave me the challenge to build him one we picked the Otto version from www.ottodiy.com but with the Otto kit purchased from banggood due to free shipping cost and a better AU exchange rate.
Despite Otto’s toy appearance, the DIY self build robot is a great learning tool and introduction into the world of arduino micro controllers. Using standard off the shelf parts and programmed with standard freely available tools, you can see this would be a great project for a schools computing or electronics class.
The complete banggood Otto kit is pretty much the entry level otto-diy version that is described here https://wikifactory.com/+OttoDIY/otto-diy.
The plain box comes with all the parts and a 3D printed body that you will need to build your own Otto. There is no instructions in the box, but a link printed on the box to a zip file, unfortunately that link seems to be dead but the wikifactory link above is all you need to get your Otto dancing.
The Build
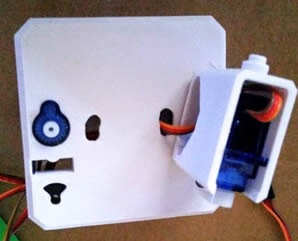
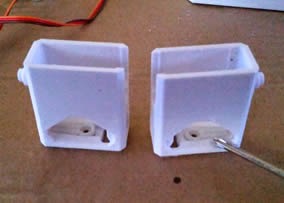
Putting things together was pretty straight forward as long as you follow the PDF guide here. I also made a few changes and mods along the way firstly the servo arm at the top of his leg can pop out, so I added some superglue to the arms before I assembled the legs to the body to improve stability. I also rewired where his feet servo wires go through the body as I thought they could bind with his legs if routed as per the instructions. Also make sure you place some tape behind the distance sensor as it rubs close to the i/o shield and may cause shorts.
Once Otto’s body is built, it’s time to add some code to him to get him dancing. The Wikifactory arduino guide here from page 10 to 15 is the best place to get started, while the otto_smooth_criminal.ino file found here is what you need to get him dancing like above.
Cons
There were no extra screws included to hold the arduino i/o board into the head. Fortunately two of the servo screws on his feet are not used so one I used for the i/o shield and the other for the power switch holder.
Speaking of the power switch, mine felt like the cheapest switch you could buy and had trouble springing out. also, the leads from the switch to the i/o board are quite short and make it difficult to get his head on, fortunately I had some spare dupont cables to extend these.
I wasn’t impressed with the base print and his head had trouble clipping into the base. I ended up printed my own base that felt a lot nicer. Also be prepared to trim the plastic around his eyeholes as the print was not the best around there and caused issues fitting his distance sensors eyes.
One thing to note also is that GND and VCC is reversed on the nano i/o pcb next to the TX and RX header when compared to the instructions pics. I am not sure if that is an error of the instructions or the cheap BangGood i/o pcb. This header is only used if you add the bluetooth upgrade later on and is difficult to see once assembled, so keep it in mind to double-check if you ever plan to upgrade him.
Although not a fault of the BangGood kit, I think the design could be improved allow more room for future upgrades. Also, I think a design with majority of the boards and accessories attached to the base, so you can neaten up the spaghetti of wires in his guts would be a good idea too.
Final Thoughts
He is a great little toy and even though I have played with a few other arduino projects before, I think I have learned a few extra things with this kit. He is pretty basic as he stands (or dances) but you can add plenty of options cheaply to improve on him. It is pretty simple to find what others have done with him and adapt that to your own robot. I may do a few upgrades myself and will post my findings sometime before he enslaves all humans.