
When you get into a hobby like Home Automation or electronics, you inevitably are drawn into the world of 3d Printers. My first experience with one is my friend’s Creality CR10, which I made good use of and have fixed up along the way. I recently had decided to purchase my own printer and decided on the Creality Ender 3 v2. I decided on this model as it was the new kid on the Creality block that improved on the CR10’s shortcomings a fair bit despite its smaller print bed.
Unboxing
I ordered the printer from Banggood, and it arrived pretty quickly direct from their Australian warehouse. Inside the box, everything was well padded and contained over two layers of foam. Unlike the CR10, which came in two pieces, the Ender 3 v2 does require a fair bit more assembly.
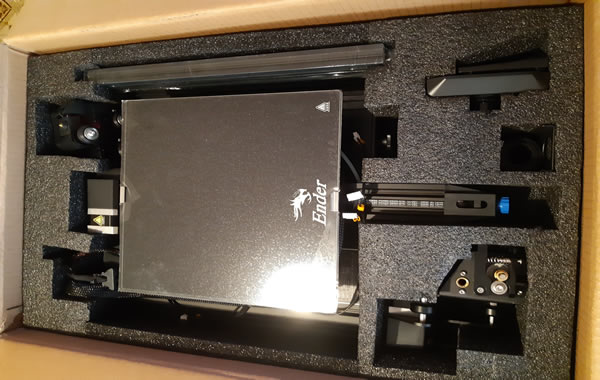
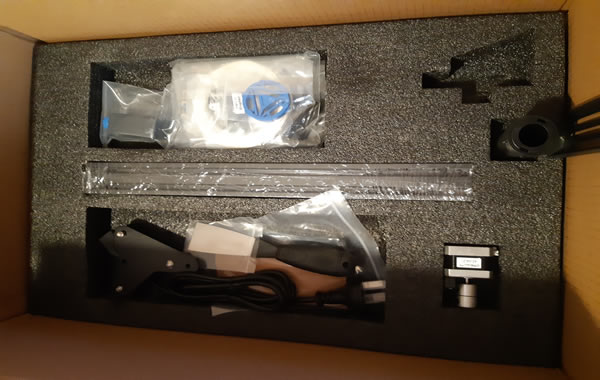
Once out of the box, you will find the base is one complete unit, with the bed and print head all fully assembled. The main part that needs assembly is the gantry, along with clipping the operator panel on to the base. On the previous Creality printer that I assembled this gantry cam as one piece which made assembly rather quick. I assume they have not done this with the v2 in order to save both labour and shipping costs.
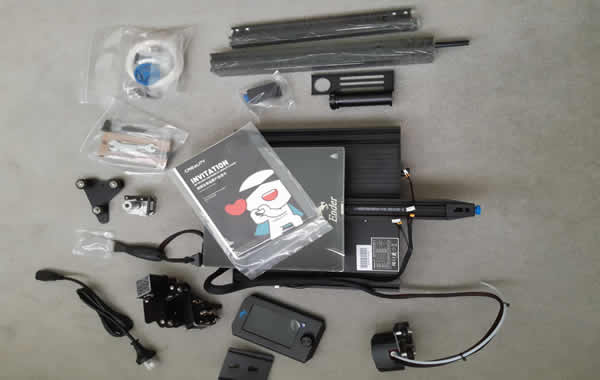
Fortunately, it is not too hard to put the printer together when following along with their manual. There are a few items in the manual that may not be too clear on first unboxing that I will try and clarify in pics below.
Building the printer
Step one on page 6
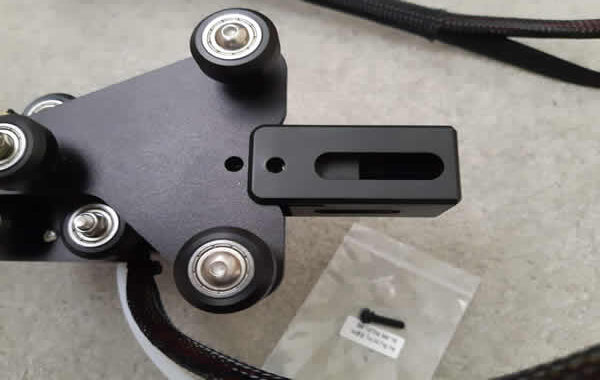
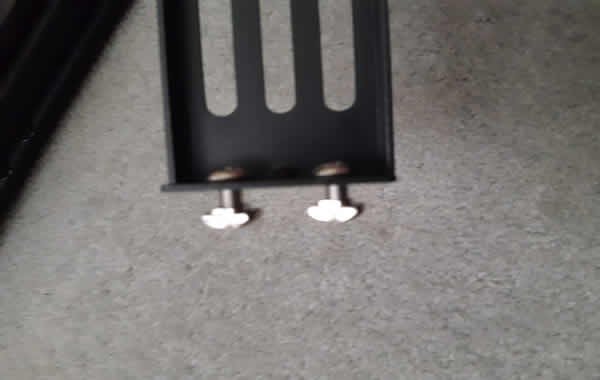
Note that there are two different Z-axis profiles with screw holes in different positions.
The right profile has two screw holes that need to be positioned like in the photo below. Interestingly, these screw holes are not used, and I believe they are left over from when the earlier model mounted its PSU there.
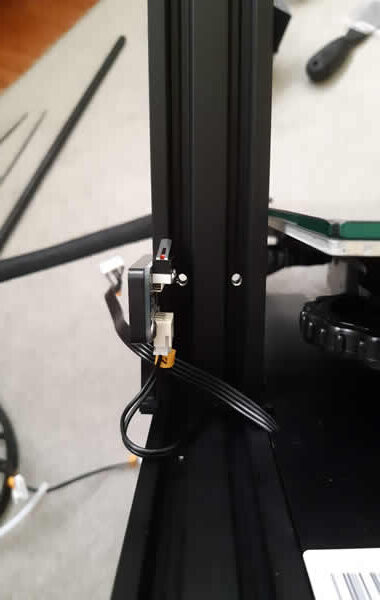
The left profile has screw holes at the bottom near the z-stop switch, as can be seen below.
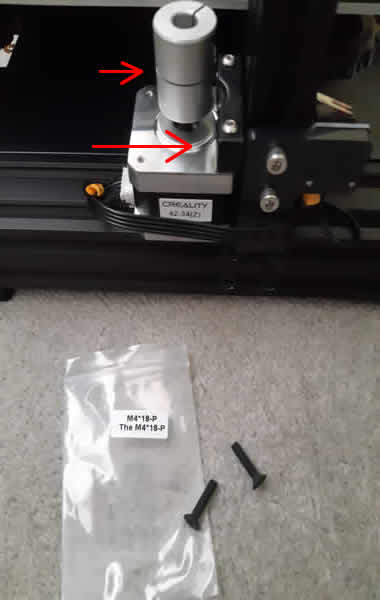
Step 2 page 7
Ensure you use the correct screws to mount the Z-axis motor, which are 2 M4 x 18. These screw into the holes on the left profile behind the Z-stop switch you can see in the previous photo.
Step 3 page 8
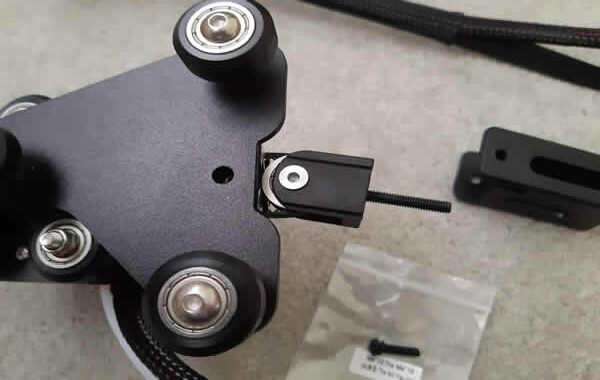
Here we are putting the X axis profile on to the XE axis kit. The profile fits on only one way, so make sure the screw head cutout is positioned over the roller screw head, like below.
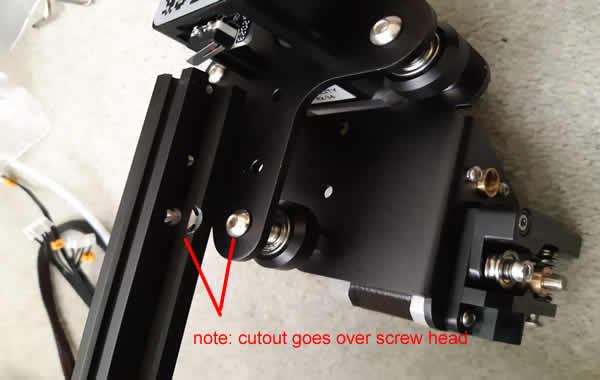
Fit the two m4x16 screws through the XE axis kit like in the pic below. Loosely thread the belt across the X axis at this time too.
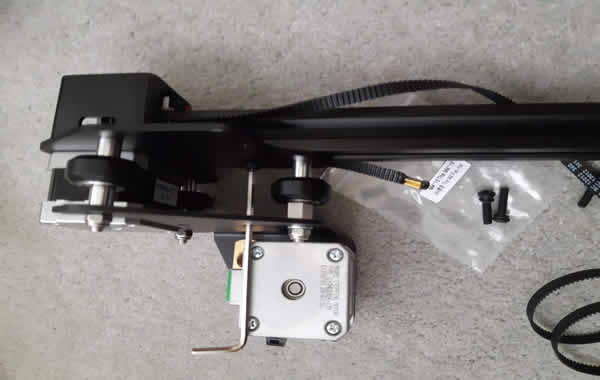
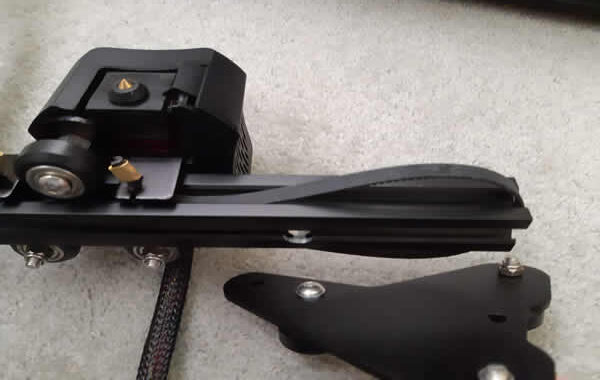
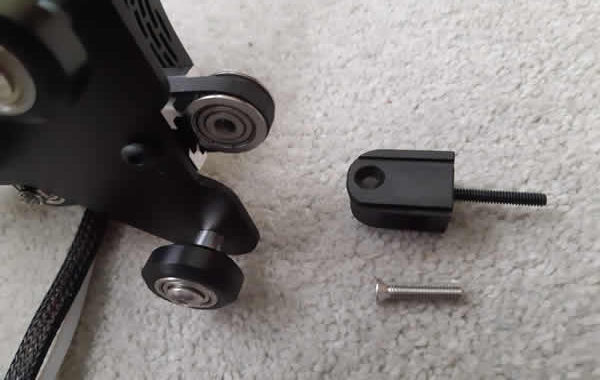
Step 4 page 9
Fit the extruder kit onto the X profile while ensuring the brass ends of the belt are fitted to the extruder kit.
Once the extruder kit and belt is in place you can fit the z-axis passive block, like earlier the roller screw head fits into a cutout on the X axis profile. The passive block is the attached to the X axis profile with one m4x16 screw.
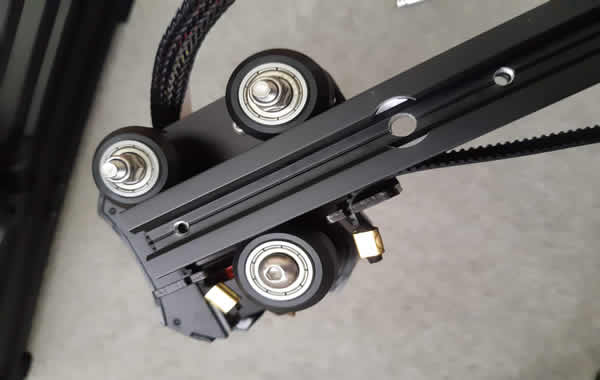
Step 5 page 10
This step was a bit fiddly, and I found it easier pulling the tensioner apart. Hopefully you will get the idea with the pics below.
Step 6 page 11
This is the easiest step, and it is where your 3d printer starts to look like a 3d printer. Drop the Z-axis moving kit that we just put together onto the rest of the printer.
Step 7 page 12
Now it’s time to add the gantry profile to the top of the printer with the 4 m5x25 screws.
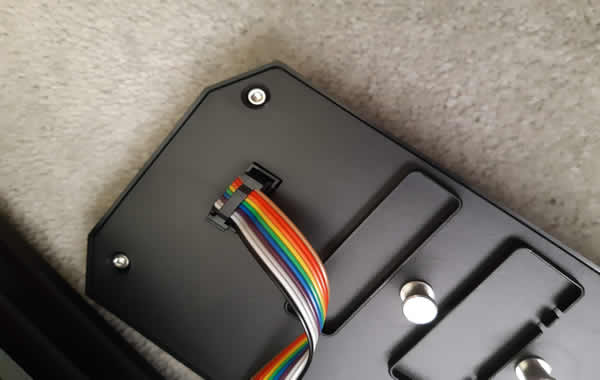
Next, plug in your display like below and mount its bracket to the right side of the printer.
Step 8 page 13
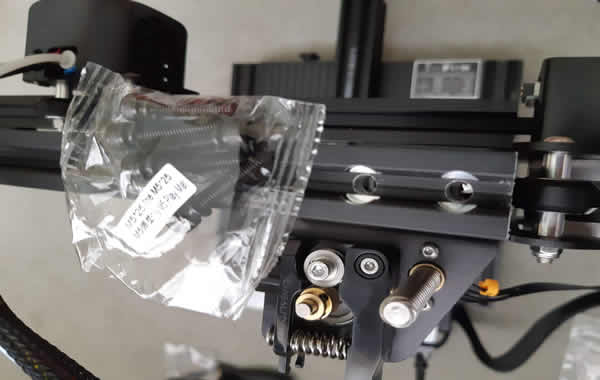
Now it’s time to install the material rack and profile covers. The nuts on the material rack (shown below) can be fiddly and are designed to drop into the top gantry and turn around to clamp onto the gantry once tightened.
Step 9 page 14
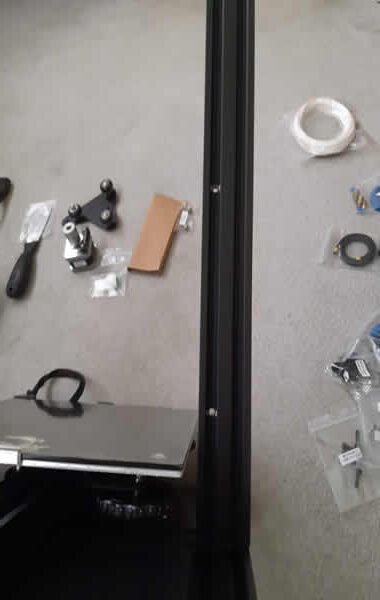
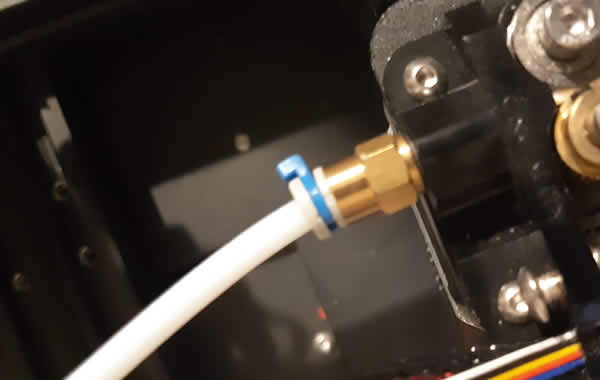
Now plug in any plug that is not plugged in yet. Each of the motor and switch plugs do have their name printed on an orange ring on the end of the cable. Also add the Teflon tube from the print head to the extruder motor assembly and clip on the blue clip like below.
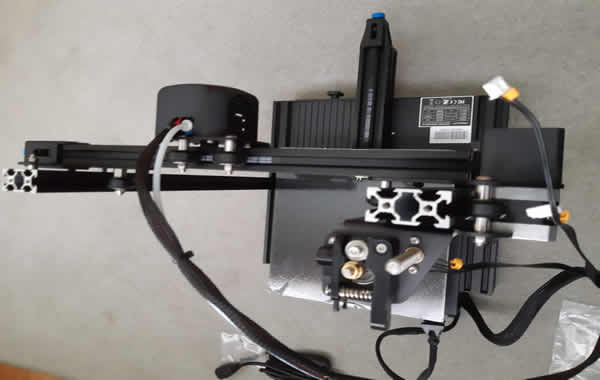
By now, you should have a fully assembled printer that looks like the pic at the top of the page.
The first thing you will need to do before printing anything is to level the printer. The most common technique of using a sheet of A4 paper under the print head in all 4 corners of the bed is a good place to start. The idea is that the paper should be able to pass under the nozzle with a small bit of resistance. With the bed too high you risk damaging the bed and with the bed too low you will have issues of failed prints due to the first layer sticking to the bed. My preferred method of getting a perfect level I learnt from this video here, where you print a series of bed level squares and compare each one adjusting and reprinting the squares until you come up with a perfect result.
Wrap up
The Creality Ender 3 v2 is clearly a newer generation of printer that has improved greatly on the previous printer I used, which was a Creality CR10, a printer closely related to the original Ender 3. The bed is one item that stands out as a vast improvement over the earlier beds. On the v2 the bed is coated with a special material and is marketed as the Carborundum Glass platform. Where previous glass beds required all sorts of hacks, glues or hair spray to get items to stick to it, the new bed requires nothing. As long as your bed is level, your print will be stuck hard to the bed and only release once it cools down after printing. Don’t be tempted to spray any type of glue on the bed if your item is not sticking confirm your bed is level with the levelling squares trick and make sure the bed is clean. I use isopropyl alcohol to regularly keep the bed clean of any muck or unseen human oils.
Another feature I like with the v2 is the 32bit main board used compared to the 8bit of earlier models. Extra headers are supplied on the board for upgrades like filament run out sensors and a BL Touch auto levelling sensor. The extra power of the board also allows for easier firmware upgrades.
Finally, the main reason why I chose a Creality printer over another printer was due to the popularity of them. This means there are plenty of people out there on the internet that have tried and tested every kind of tweak or bug with the Creality range of printers, even with the Ender 3 v2 being a relatively new kid on the block, there is plenty of talk about them in forums and YouTube. Parts are also very generic and readily available, something I believe to be very important as I want to fix things myself if anything goes wrong. Despite having a bit of experience in setting up and tinkering with the earlier Creality machine, I have learnt a great deal more on 3d printing by owning my own machine, which I have used to tweak my friend’s CR10.
All in all, I like the Creality Ender 3 V2 as it is a great cheap machine that would is easy to get great prints off of even for beginners, and there are a few options for upgrades later on.
Resources
Creality Ender 3 V2 at Bangood.com
https://www.banggood.com/custlink/KmKyN80qvN
Good video on fine-tuning the level via bed levelling square prints
https://www.youtube.com/watch?v=RZRY6kunAvs
Some bed levelling squares to print out
https://www.thingiverse.com/thing:3796577
Some of my 3d print designs
https://www.thingiverse.com/tastycarp/designs
Creality downloads page (firmware and manual)
https://www.creality.com/download