In a previous post I detailed installing Proxmox on an old PC to use as Home Assistant server with Home Assistant’s Virtual Machine image. Today I will go over some changes and tweaks I have done since setting up my Proxmox server.
Set up the no-subscription Repo
While you can use Proxmox for free, the default install is set up to refer to their commercial repo for updates. This will result in the odd update error if you don’t have a commercial subscription, as well as a nag screen to consider purchase. Fortunately, there is a “No-Subscription” repo that can be used in place of the commercial repo that is perfect for home use. I had previously used Whiskerz007 scripts to do this, but thanks to github user tteck there is now a single line script that can achieve the same result.
To run the script, click on your Proxmox box in the left pane followed by shell and paste the below line into the shell prompt like shown below.
bash -c "$(wget -qLO - https://github.com/tteck/Proxmox/raw/main/misc/post-pve-install.sh)"
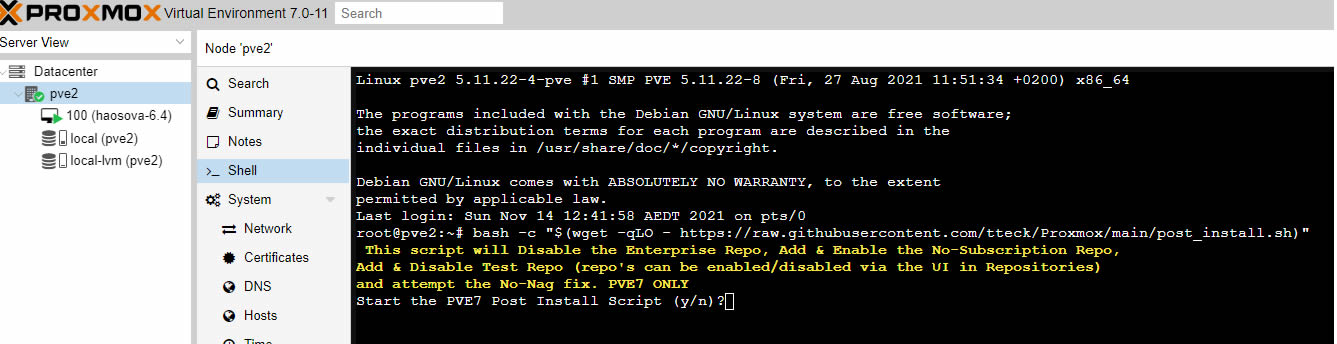
Answer Y to all the questions and the script will give the option to update using your new non subscription repositories and reboot.
Updating Proxmox
As with all software, it is a good idea to regularly update Proxmox. Doing so is as simple as running the two commands below and be prepared to answer any “do you want to continue” questions. I also received a release notes screen that I had to hit quit (Q) on to continue, which can seem confusing.
Also, it would be best practice to stop any VM you have running and also have a backup of your VM’s as well before you start your backup, just in case there are any issues.
apt-get update
apt-get dist-upgrade
Starting with Proxmox versions later than Proxmox 7 there is now a button in the GUI named “updates” that you can use rather than use the above update commands. There is also a tab now that lists the repositories we added above if you want to easily confirm you are using the correct update repository.
Backup your Home Assistant VM to a USB Drive
While I generally use Home Assistant’s snapshot feature for my backups, I also believe you can never have too many backups, so I also back up my Home Assistant Virtual Machine to my NAS. Seeing that not everyone will own a NAS, I tested out backing up to a USB Drive for this post. I followed this video here www.youtube.com/watch?v=lZjMxdBPH7M in order to mount the USB drive correctly. I will list the main commands below for those that want to cut and paste along.
After adding a blank USB to preferably a USB3 port, first open a shell under your Proxmox Server, then type the command below.
fdisk -l
This will list all the disks attached to your server. You will need to find your USB drive, in my case it was the last drive and some giveaway info for me was the size, the disk model name and the type of “Microsoft basic data” (the disk was formatted as fat32).
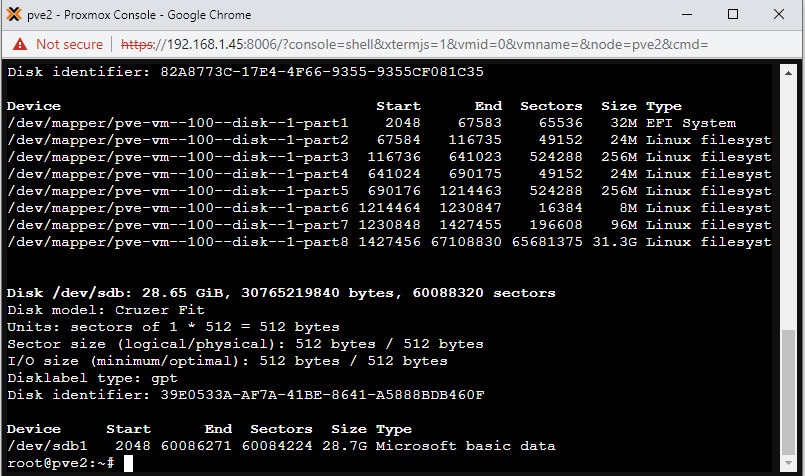
Take note of the device id here, in my case it is /dev/sdb1.
Next format the drive to ext4 using the below command, changing the device id to match yours is different and answer Y at the prompt.
mkfs.ext4 /dev/sdb1
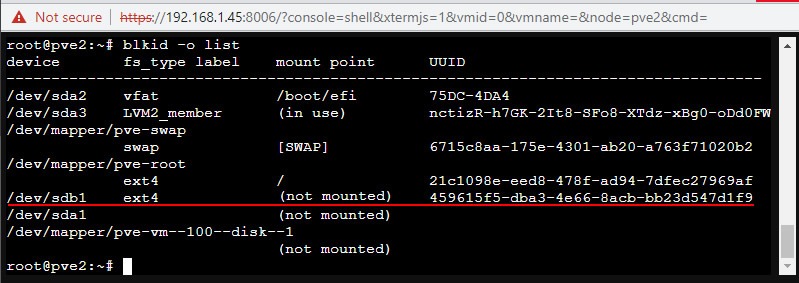
Once that is done, type the below command and find the UUID of your USB drive (in my case /dev/sdb1). Copy this UUID to notepad, as we will need it shortly.
blkid -o list
Now let’s make a mount directory with the below command.
mkdir /mnt/usb-drive
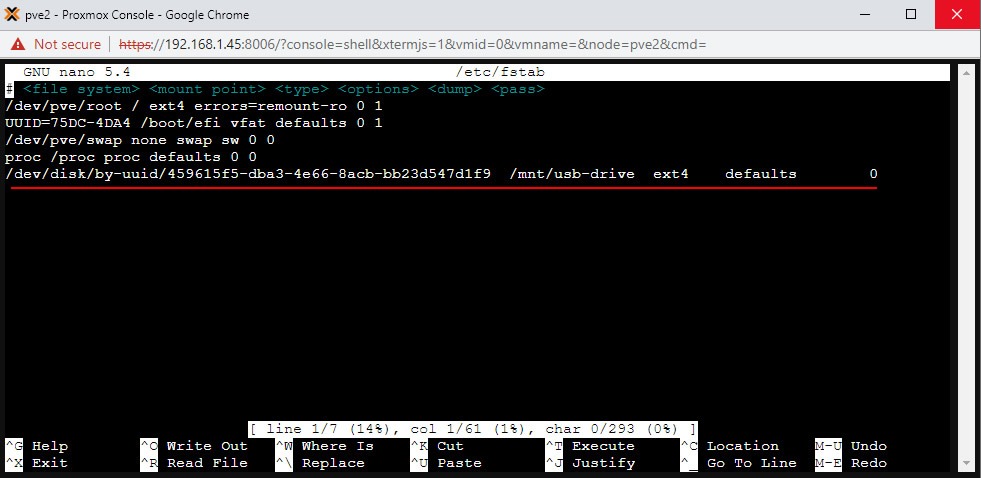
Now let’s edit fstab with nano to add the mount on boot.
nano /etc/fstab
On the last line, add this line below replacing in your UUID that you saved earlier, then hit Ctrl and X to save and exit.
/dev/disk/by-uuid/my-UUID-goes-here /mnt/usb-drive ext4 defaults 0
When you have saved out of nano run the command below.
mount -a
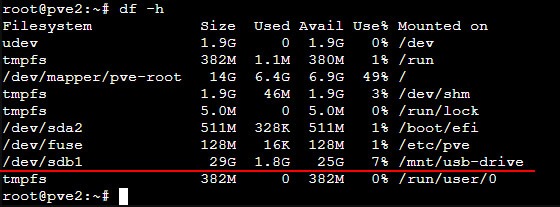
Now to check your mounts, run the below command to see a list like below.
df -h
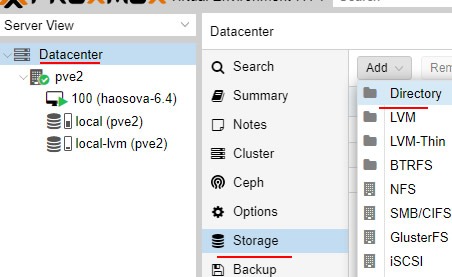
The next steps are all done in the Proxmox GUI.
First select Datacenter, then Storage, then Add and then Directory.
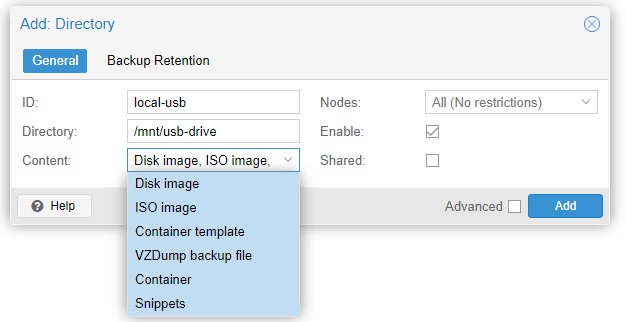
Once that is done, you will need to fill out the pop-up box like below and I would select all content. Optionally, you can click on the Backup Retention tab and choose how many backups to keep, which maybe handy on smaller USB drives.
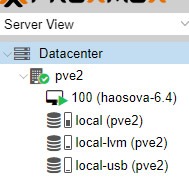
If all went well, you should your USB drive in the left pane like below.
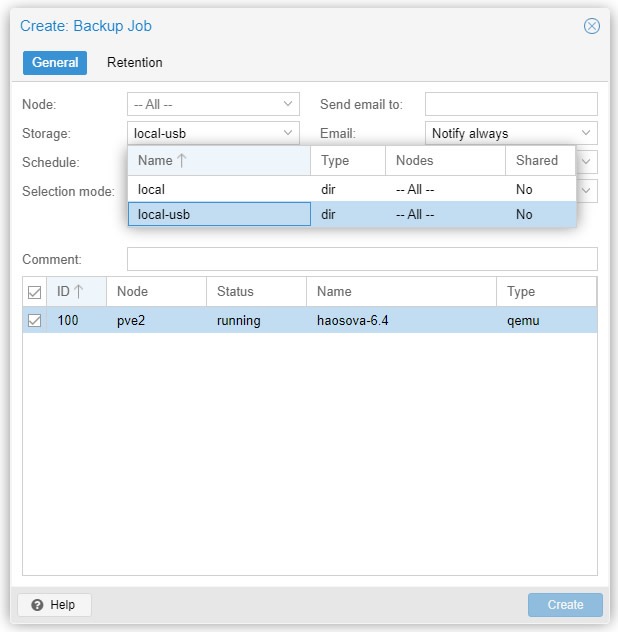
Next it’s time to set up the VM Backup, under Datacenter select backup and then click add Select your Home Assistant VM and don’t forget to select your USB storage like shown below. Most other options are self-explanatory, and you can even schedule regular backups.
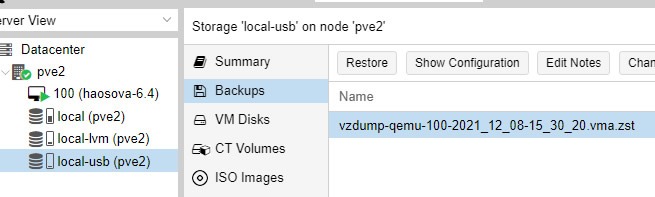
With that setup, you can run the backup job straight away and confirm it works. After a short time, you should see your backup with a similar name to like below on the USB drive. In theory, if your Proxmox server went down, you could reinstall Proxmox and then remount the USB disk like above (minus the format bit) and the restore your VM.
What more Can I do with Proxmox?
Proxmox is very powerful, it can run mutiple VM’s or Containers and can even be run in clusters for High Availability. I may revisit these options in a future post, as this one is already getting a bit long.
If you want to get your feet wet with some extra VM or Containers, check out github user’s tteck script collection here or select your “local” disc in the Proxmox left pane followed by “CT Templates” then “Templates” to see a list of things that can be installed alongside your Home Assistant VM. Be warned that everything you install will mean some kind of performance hit to your Home Assistant VM. That being said, I have not noticed any negative impacts while running a turnkey-wordpress container on my main intel i5 with 8GB ram Proxmox PC that runs my production Home Assistant instance.
The previous post in this series
Set up a Home Assistant VM on Proxmox